

WordPress to Webflow Migration Guide: How to Switch Without Losing SEO Rankings
Switching from WordPress to Webflow? Learn how to migrate your site without losing SEO rankings. Step-by-step guide with expert tips for a smooth transition.

- Migrating to Webflow eliminates plugin chaos, security risks, and maintenance overhead that slow WordPress sites down
- Always back up everything before starting — one bad update can wipe months of work
- Content migration requires manual cleanup — shortcodes and page builder HTML won't transfer cleanly
- 301 redirects are non-negotiable — every changed URL needs to be mapped to preserve SEO rankings
- Post-launch monitoring is critical — watch rankings, traffic, and crawl errors for the first 2-4 weeks
WordPress to Webflow Migration Guide: How to Switch Without Losing SEO Rankings
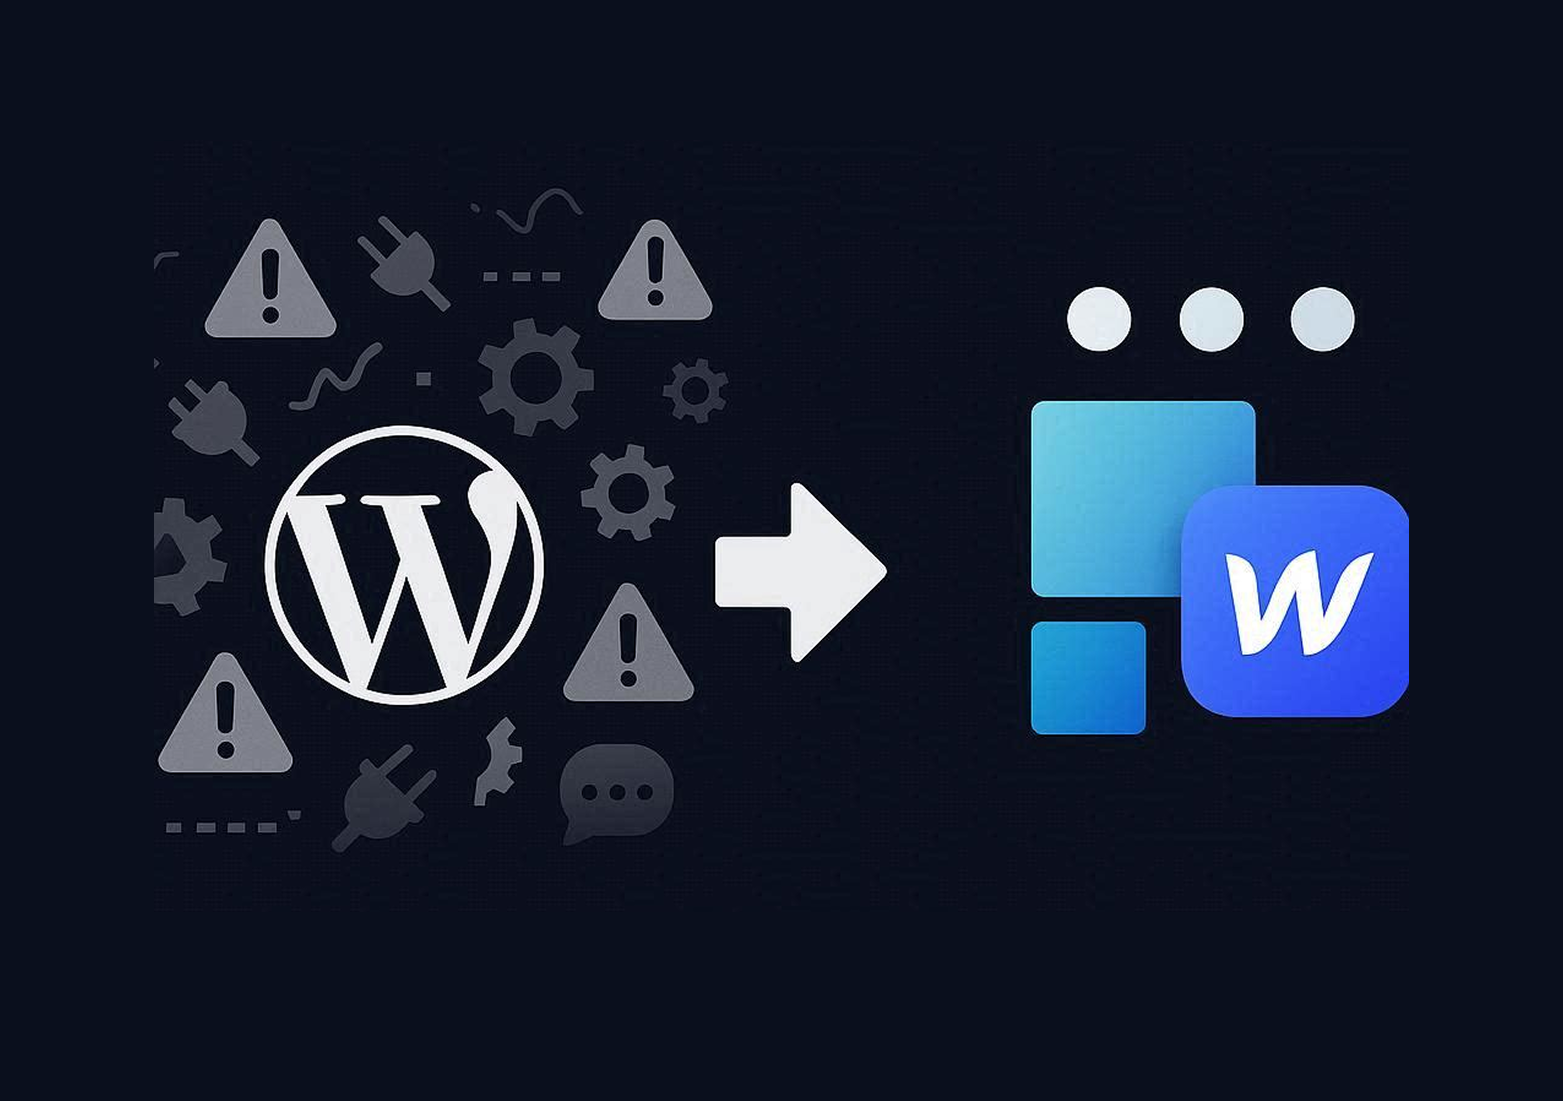
If you're running a WordPress site and feeling the weight of constant plugin updates, security patches, and slow load times, you're not alone. Many businesses hit a breaking point where WordPress starts to feel more like a burden than a tool for growth. The good news? Migrating to Webflow can solve these problems—and it doesn't have to be complicated.
This guide will walk you through everything you need to know about moving from WordPress to Webflow in 2026, from planning and content export to preserving your SEO rankings and launching your new site with confidence.
Why Businesses Are Switching From WordPress to Webflow
The reasons for migrating are consistent across industries. Here's what drives the decision:
Plugin Overload: Every "update available" notification feels like a gamble. Will it break your layout? Conflict with another plugin? Most WordPress sites rely on 10+ plugins just to function, and each one is a potential weak point.
Security Risks: WordPress powers 43% of the web, which makes it a prime target for hackers. Miss one security patch and you could wake up to spam links, malware, or worse.
Performance Issues: Many WordPress sites are slowed down by bloated themes and plugin conflicts. Even with caching plugins, achieving consistent fast load times can be a challenge.
Design Limitations: Page builders like Elementor or Divi help, but you're still constrained by the theme. Custom layouts and interactions often require developer help or messy workarounds.
Maintenance Burden: Between core updates, plugin updates, theme updates, and backups, maintaining a WordPress site can consume hours every month.
Webflow eliminates most of these pain points. It's a visual development platform that gives you complete design freedom without the plugin chaos. Updates are handled automatically, security is built-in, and performance is optimized out of the box.
What to Know Before You Migrate
Migration Tools Aren't Magic
There are tools that claim to automatically move your WordPress site to Webflow—CSV importers, export plugins, even full-service migration platforms. Here's the truth: these tools can help with content transfer, but they won't give you a finished website.
At best, they bring over your blog posts and basic structure. At worst, you end up with messy formatting and broken layouts that still need hours of cleanup. Migration tools are helpers, not shortcuts.
Plan for a Rebuild
Unlike moving between similar platforms, WordPress to Webflow migration isn't a 1:1 copy. Your design will need to be recreated in Webflow's Designer. This is actually an opportunity—you can improve your site's structure, speed, and user experience during the migration.
SEO Can Be Preserved (If Done Right)
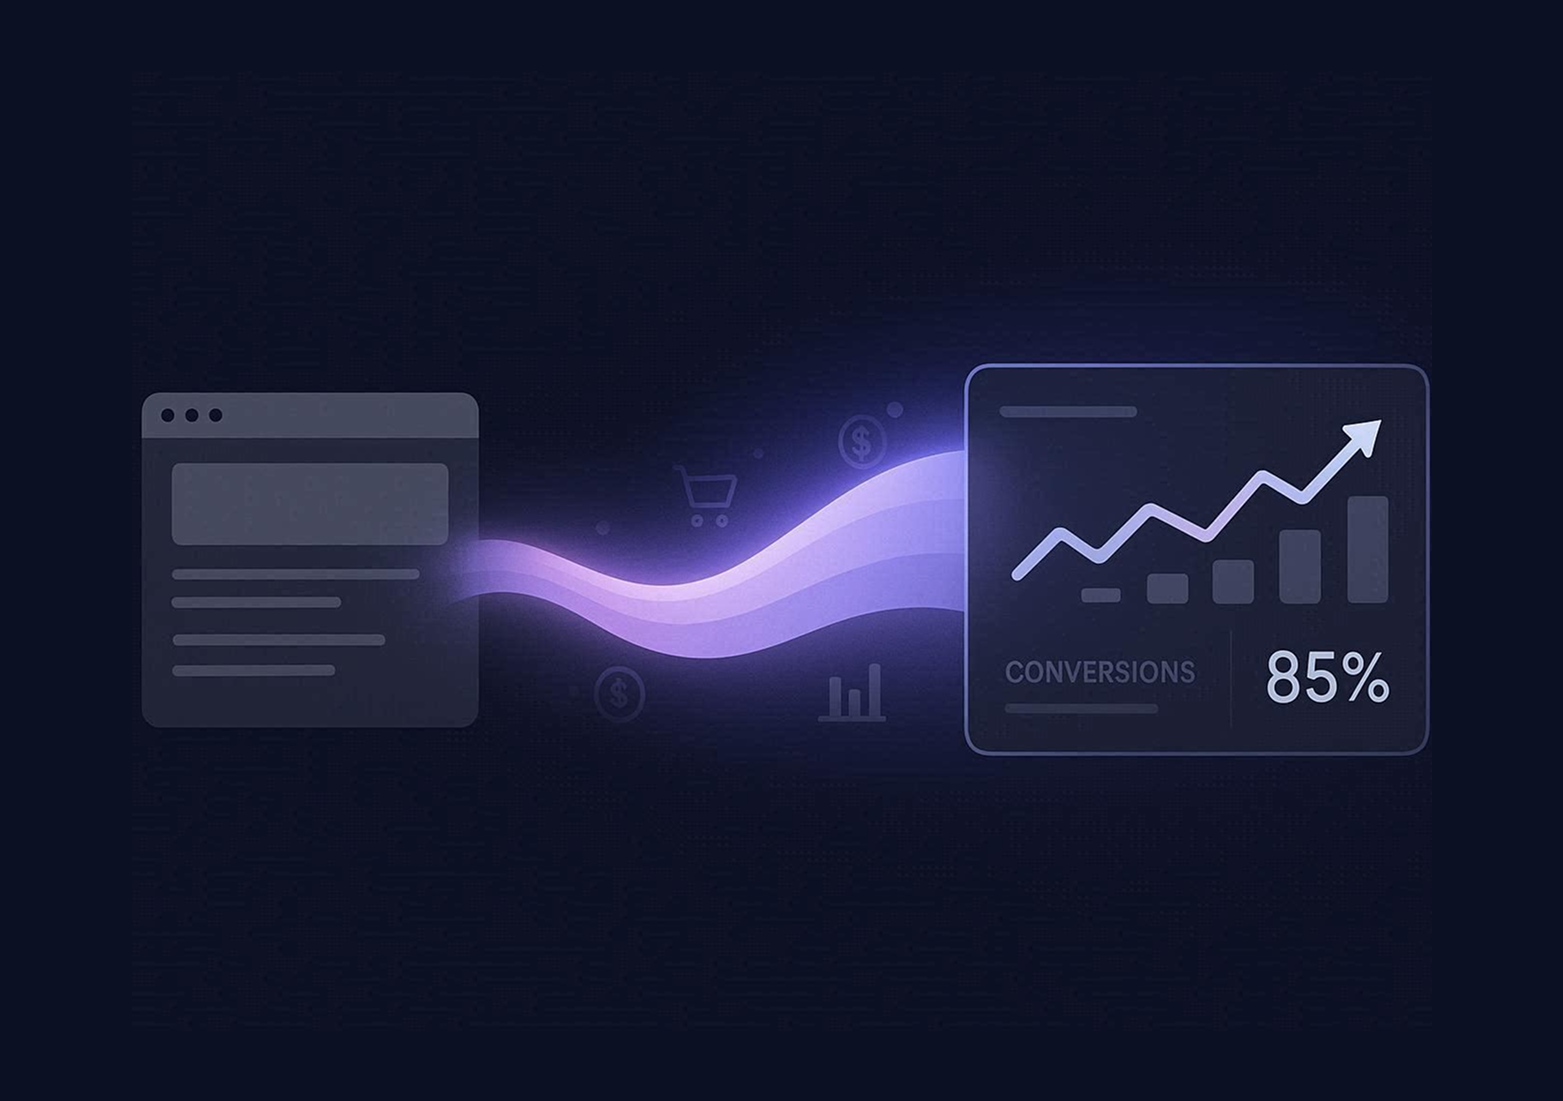
One of the biggest fears people have is losing their Google rankings. The good news: if you handle redirects properly and preserve your metadata, your SEO should remain intact. Temporary fluctuations are normal, but with the right approach, most sites recover within 2-4 weeks.
The Complete WordPress to Webflow Migration Process
Here's a step-by-step workflow that covers everything from planning to launch.
Step 1: Audit Your Current Site
Before you touch anything, get a complete picture of what you're working with.
Create a Content Inventory: List every page, blog post, and custom post type. Identify what's worth keeping and what can be retired. Migration is the perfect time to cut dead weight—outdated content, duplicate pages, and low-traffic posts that no longer serve a purpose.
Document Plugins and Features: Write down what each plugin does. Forms, filters, galleries, memberships—figure out how you'll replicate these features in Webflow or with integrations.
Benchmark Your Performance: Record current metrics so you can measure improvement after migration. Key metrics include:
- Total traffic and top-performing pages
- Keyword rankings for your most important terms
- Page load speed (use PageSpeed Insights or GTmetrix)
- Conversion rates on key pages
Step 2: Back Up Everything
This is non-negotiable. Use a plugin like UpdraftPlus or BackupBuddy to create a complete backup of your WordPress site—database, media library, and all files. Store it somewhere safe. If anything goes wrong during migration, you'll need this.
Step 3: Export Your Content
For Blog Posts and Pages: Use WordPress's built-in export tool (Tools > Export) to download your content as an XML file. You'll need to convert this to CSV format before importing to Webflow. The WP All Export plugin makes this process much easier and gives you more control over field mapping.
For Media Files: Download your entire /wp-content/uploads/ folder. This contains all your images, PDFs, and other media. Before uploading to Webflow, optimize your images—compress them to reduce file size without sacrificing quality.
For SEO Data: Export your meta titles, meta descriptions, and structured data. If you're using Yoast SEO or Rank Math, there are export options for this data. You'll need it when setting up SEO in Webflow.
Step 4: Download Your Sitemap
Your sitemap shows which pages are currently indexed by Google. Go to yourwebsite.com/sitemap.xml and save this file. Cross-reference it with your content inventory to make sure nothing important gets missed.
You can also use Google Search Console to see which pages are actually driving traffic. This helps prioritize what to migrate first.
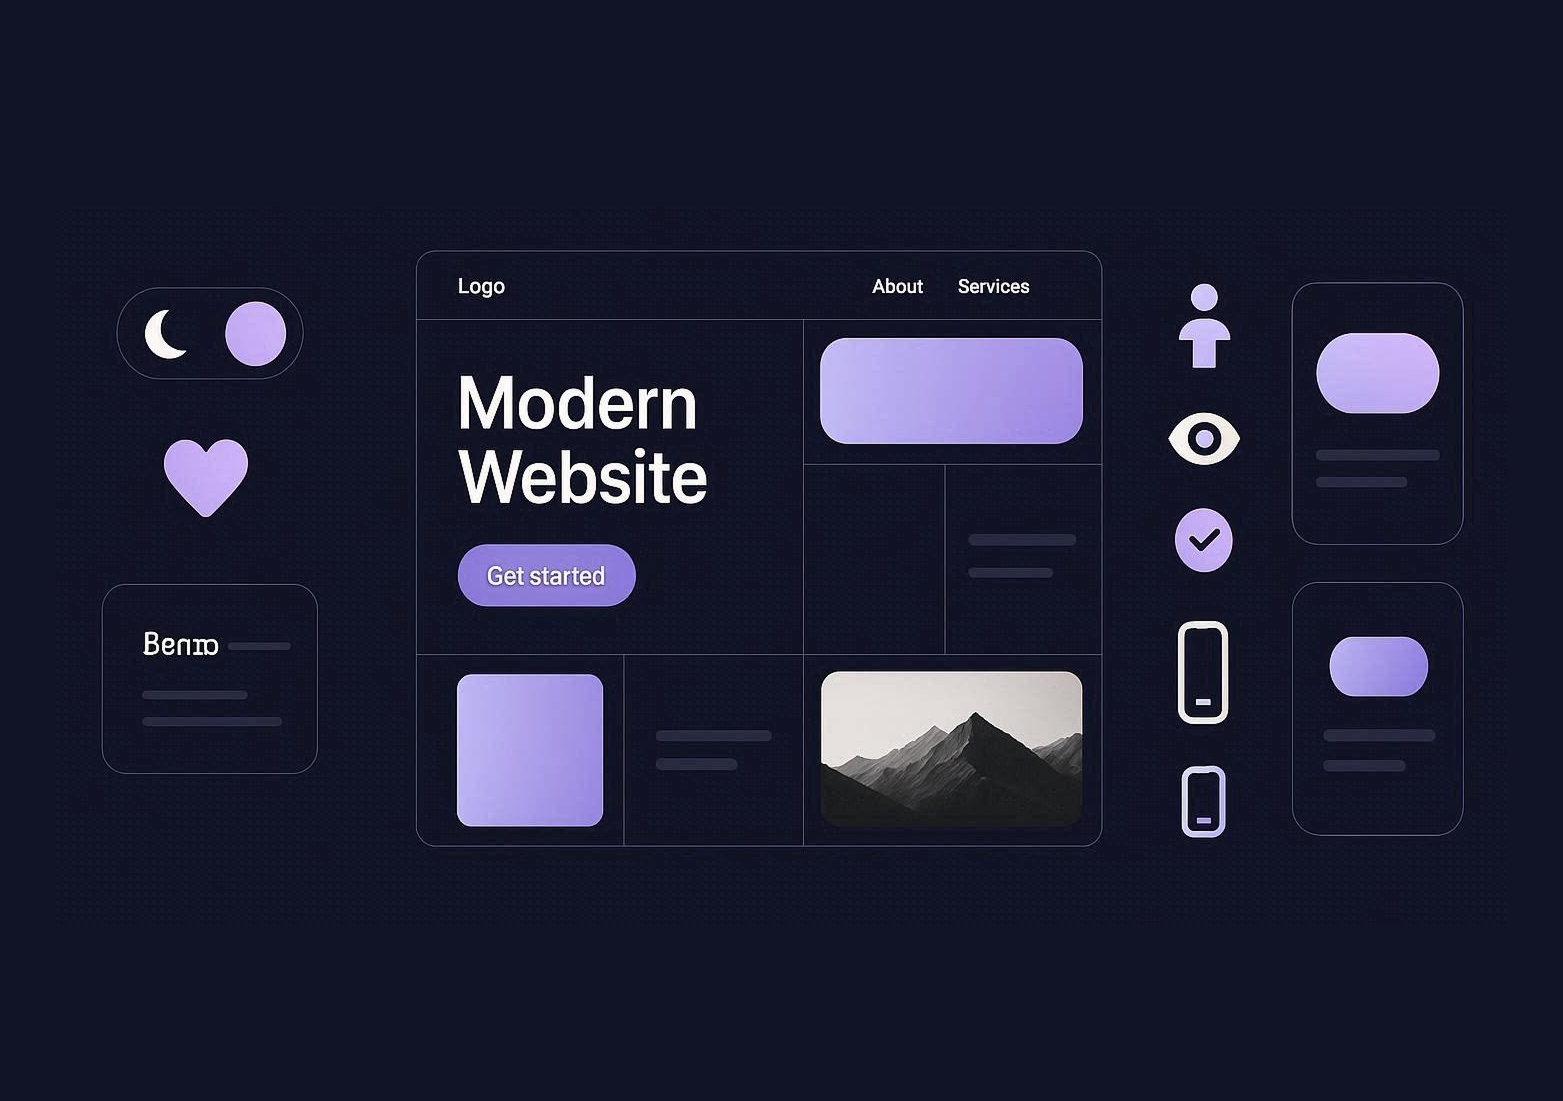
Step 5: Set Up Your Webflow Project
Create a Design System First: Before rebuilding pages, set up your global styles—typography, colors, spacing, buttons, and form styles. This keeps your design consistent and speeds up the build process.
Build Your CMS Collections: Webflow's CMS works differently than WordPress, but it's more flexible in many ways. Create collections that match your content types:
- Blog posts (with fields for title, slug, featured image, author, categories, publish date, and rich text content)
- Case studies or portfolio items
- Team members
- Any other custom content types
Map Your Fields Carefully: When importing CSV data, you'll need to match WordPress fields to Webflow fields. Common mappings include:
- Post title → Name field
- Post slug → Slug field
- Post content → Rich text field
- Featured image → Image field
- Categories → Multi-reference field
Step 6: Import and Clean Up Content
Upload your CSV file to Webflow and map the columns to your CMS fields. Then comes the cleanup phase.
Formatting Issues: WordPress shortcodes, HTML from page builders, and custom embeds won't transfer cleanly. You'll need to manually fix these in Webflow's Rich Text editor.
Internal Links: Update links that point to your old WordPress URLs. If your URL structure is changing, you'll handle this with redirects, but internal links within content should point to the new structure.
Images: Upload images to Webflow's Asset Manager and link them properly. Make sure image alt text is preserved for SEO.
Step 7: Rebuild Your Design in Webflow
This is where the real work happens. You're not just copying your WordPress theme—you're building a custom design in Webflow's visual editor.
Start With Templates: Create reusable templates for your blog post layout, category pages, and other dynamic content. Use Webflow's CMS binding to pull in dynamic content.
Focus on Responsiveness: Webflow gives you granular control over how your site looks on tablet and mobile. Test every breakpoint.
Add Interactions and Animations: One of Webflow's biggest advantages is its built-in animation engine. You can create sophisticated interactions without writing JavaScript.
Step 8: Preserve Your SEO
This is critical. Poor SEO migration can tank your traffic for months.
Match Your URL Structure: If possible, keep the same URL slugs as your WordPress site. This minimizes the need for redirects. For example, if your WordPress blog post was at /blog/seo-tips/, your Webflow version should be too.
Set Up 301 Redirects: For any URLs that change, create 301 redirects in Webflow. Go to Project Settings > Hosting > 301 Redirects and map old URLs to new ones. This tells search engines and browsers that the page has permanently moved.
Transfer Metadata: Add meta titles and meta descriptions to every page. For CMS content, use dynamic fields so metadata pulls from your CMS items.
Add Open Graph Tags: These control how your pages appear when shared on social media. Webflow lets you set these in the page settings.
Submit a New Sitemap: Once your site is live, submit your new Webflow sitemap to Google Search Console. This helps Google discover and index your new pages faster.
Step 9: Test Everything
Before launch, run through a complete quality assurance checklist:
Functionality Testing:
- Test all forms to make sure submissions work
- Click every button and link
- Check that all images load properly
- Verify that animations and interactions work as expected
Cross-Browser Testing: View your site in Chrome, Firefox, Safari, and Edge. Use tools like BrowserStack if you need to test older browsers.
Mobile Testing: Test on real devices, not just Webflow's preview mode. Check for any layout issues, tap target sizes, and load times.
SEO Audit: Use Screaming Frog or Ahrefs to crawl your staging site and check for:
- Broken internal links
- Missing meta descriptions
- Duplicate content
- Missing alt text on images
Step 10: Set Up Analytics and Tracking
Before you launch, make sure your tracking is in place:
Google Analytics: Add your GA4 tracking code to Webflow's Project Settings. If you're migrating from Universal Analytics, make sure you're using GA4.
Google Search Console: Verify your new domain in Search Console and submit your sitemap.
Other Tracking: Add any other scripts you need—Facebook Pixel, LinkedIn Insight Tag, Hotjar, etc. Webflow's custom code areas make this easy.
Step 11: Launch Your New Site
When you're ready to go live:
Point Your Domain: Connect your custom domain to Webflow. If your domain is registered elsewhere, you'll need to update your DNS records. Webflow provides clear instructions for this.
Enable SSL: Webflow includes free SSL certificates. Make sure HTTPS is enabled before you launch.
Turn Off Staging Indexing: Webflow sets staging sites to "noindex" by default. Once you're live on your production domain, make sure search engine indexing is enabled in Project Settings.
Go Live During Low-Traffic Hours: Launch during a time when your site typically has less traffic. This gives you a buffer to catch any issues before peak hours.
Step 12: Monitor Post-Launch Performance
The first few weeks after migration are critical. Here's what to watch:
Traffic Patterns: Compare your Google Analytics data to your pre-migration benchmarks. Some fluctuation is normal, but watch for major drops.
Keyword Rankings: Use a rank tracking tool to monitor your most important keywords. Rankings might dip slightly right after launch, but they should recover within 2-4 weeks.
Error Monitoring: Check Google Search Console for crawl errors, 404s, and indexing issues. Fix any problems immediately.
Page Speed: Run PageSpeed Insights on your key pages. Webflow sites are typically much faster than WordPress, so you should see improvement here.
User Feedback: Pay attention to any user reports of broken links or missing content.
Common Migration Challenges and How to Solve Them
Challenge 1: Large Image Libraries
Problem: Manually uploading hundreds of images to Webflow is time-consuming.
Solution: Use a bulk upload tool or compress images before upload. Consider using a CDN like Cloudinary if you have thousands of images.
Challenge 2: Complex Custom Functionality
Problem: Your WordPress site has custom features built with plugins that don't exist in Webflow.
Solution: Look for Webflow integrations or third-party tools. For example:
- Forms: Webflow's native forms + integrations with HubSpot, Mailchimp, or Zapier
- Memberships: Memberstack or Webflow's native Memberships (in beta)
- E-commerce: Webflow has built-in e-commerce features
- Advanced filtering: Use Finsweet's CMS Filter library
Challenge 3: URL Structure Changes
Problem: Your new Webflow site has a different URL structure than WordPress.
Solution: Create a comprehensive redirect map. Export all your WordPress URLs, map them to their new Webflow equivalents, and add 301 redirects in bulk. Use a CSV format for efficiency.
Challenge 4: Blog Post Formatting Issues
Problem: WordPress content with shortcodes and custom HTML doesn't import cleanly.
Solution: Expect to manually clean up blog posts. Use find-and-replace in your CSV file to remove common shortcodes before import. For complex posts, consider rewriting them fresh in Webflow.
How Long Does Migration Take?
The timeline depends on your site's size and complexity:
Small sites (5-20 pages): 1-2 weeks
Medium sites (20-50 pages + blog): 2-4 weeks
Large sites (100+ pages): 4-8 weeks
Enterprise sites with complex features: 8-12 weeks
Working with a Webflow agency can significantly reduce this timeline, especially if you're juggling migration with your regular workload.
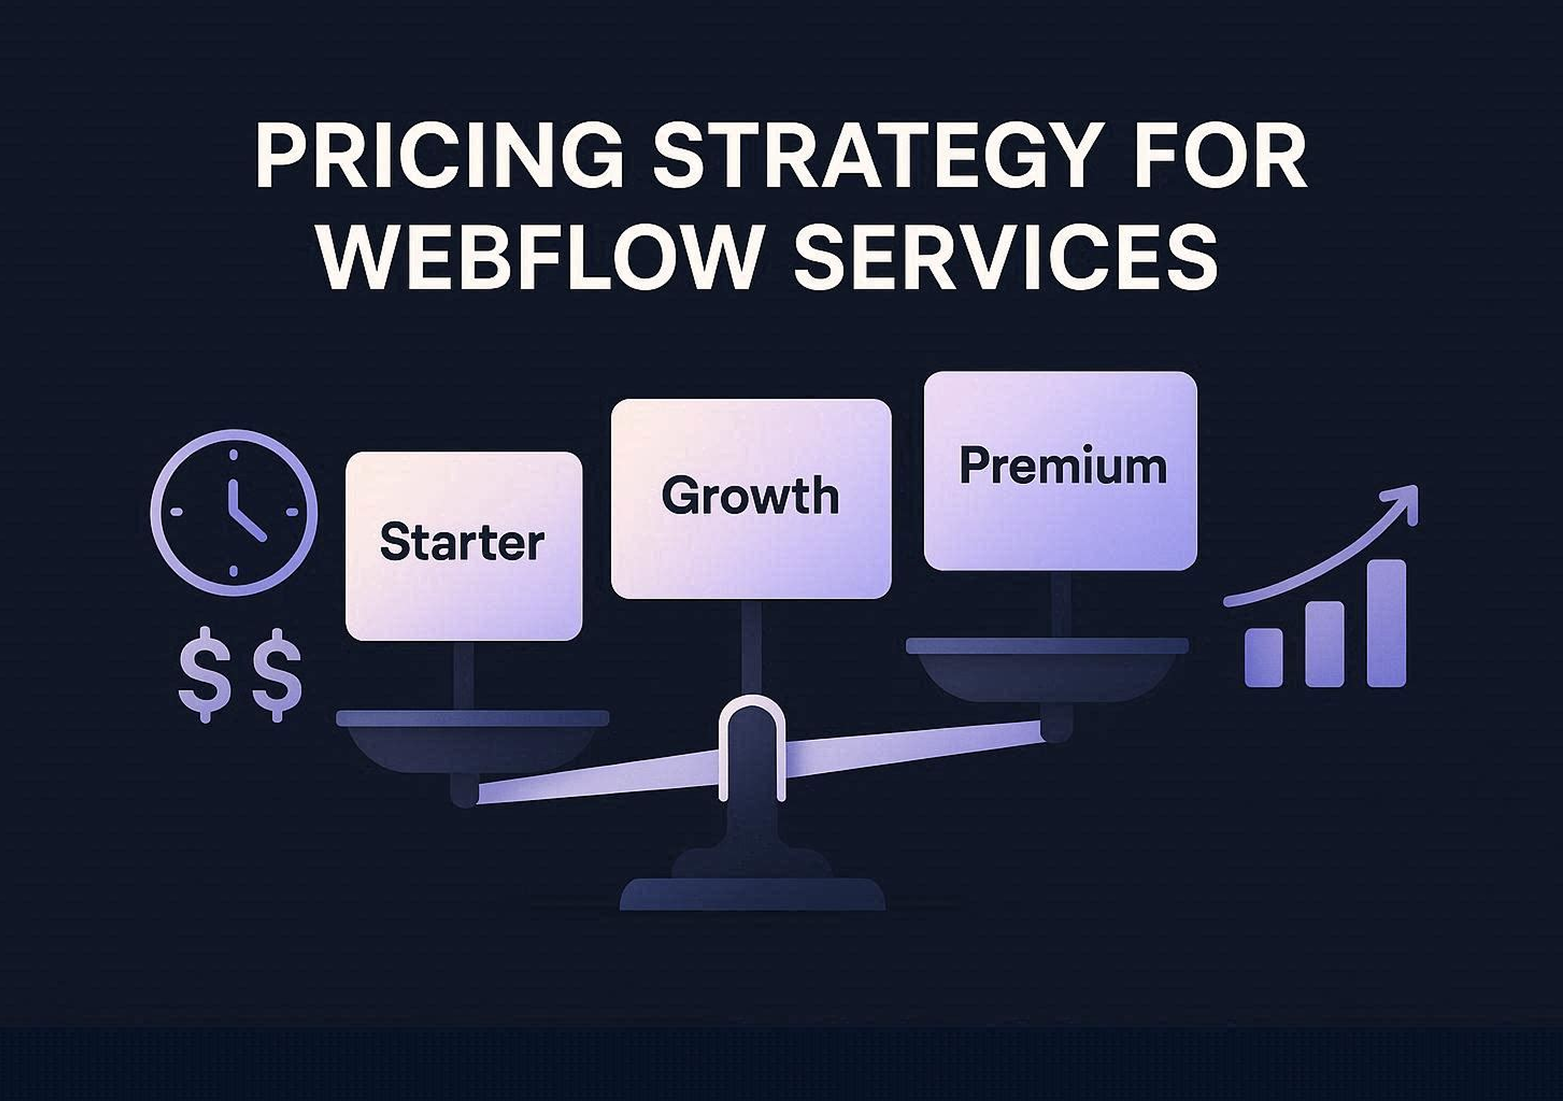
Cost Considerations
Webflow Hosting: Plans start at $14/month for basic sites and $23/month for CMS sites. This includes hosting, SSL, and backups—things you'd pay separately for with WordPress.
Time Investment: If you're doing the migration yourself, factor in the hours required. Most business owners underestimate this and end up hiring help midway through.
Agency Services: Professional migration services typically range from $3,000 to $15,000+ depending on site complexity. This includes design rebuild, content migration, SEO preservation, and training.
Is Webflow Right for Your Business?
Webflow is a great fit if:
- Your site is primarily marketing pages and a blog
- You want faster performance and better security
- You're tired of managing plugin updates
- You need more design flexibility
- You want your marketing team to update content without developer help
Stick with WordPress if:
- You rely heavily on niche plugins with no Webflow alternative
- You have a complex membership site or custom e-commerce setup
- Your team is deeply invested in WordPress workflows
- You need highly specific functionality that Webflow can't replicate
Final Thoughts
Migrating from WordPress to Webflow is more than just a platform switch—it's an opportunity to rebuild your site with better performance, cleaner code, and a more intuitive content management system.
The process requires planning, attention to detail, and patience during the rebuild phase. But for most businesses, the result is a faster, more secure website that's easier to manage and better positioned for growth.
If you're ready to make the switch, start with a thorough audit of your current site, back up everything, and approach the migration in phases. And if the process feels overwhelming, working with a Webflow expert can save you time and ensure your SEO stays intact.
Your new Webflow site is waiting—and it's going to be faster, cleaner, and easier to manage than your WordPress site ever was.
Continue reading